A Step-by-Step Guide to Installing EMT Conduit
A Step-by-Step Guide to Installing EMT Conduit
Electrical Metallic Tubing (EMT) is a type of conduit commonly used to protect and route electrical wiring in various building and industrial applications. Known for its durability and ease of installation, EMT is a popular choice for electricians and DIY enthusiasts alike. Here, we’ll walk you through the process of installing EMT conduit step-by-step.

What You’ll Need:
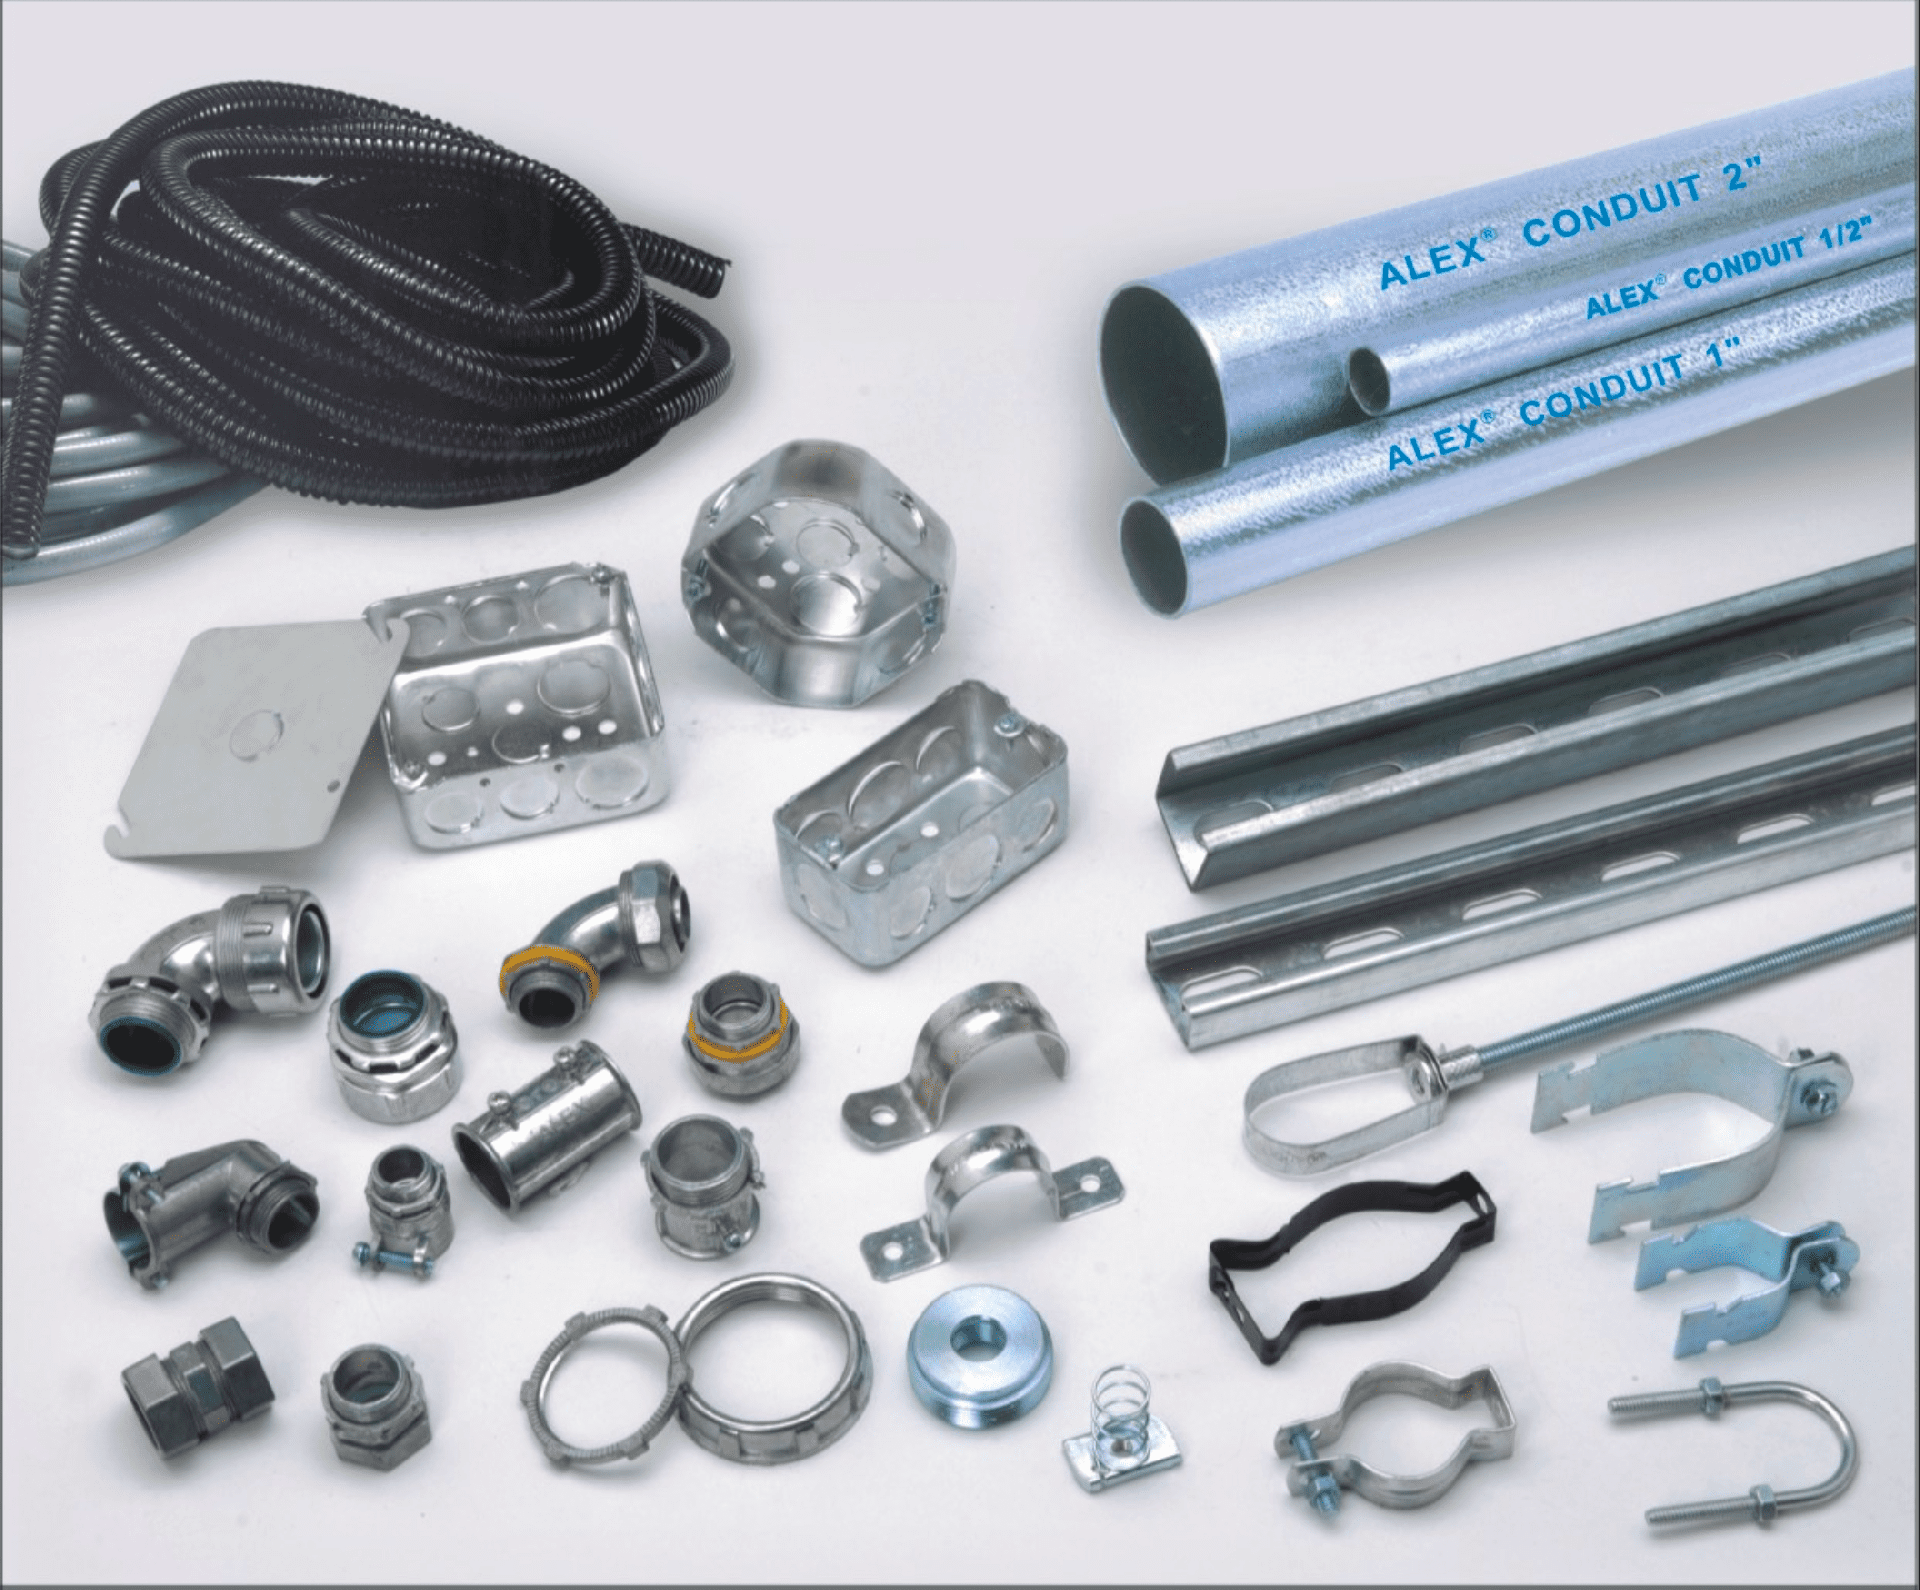
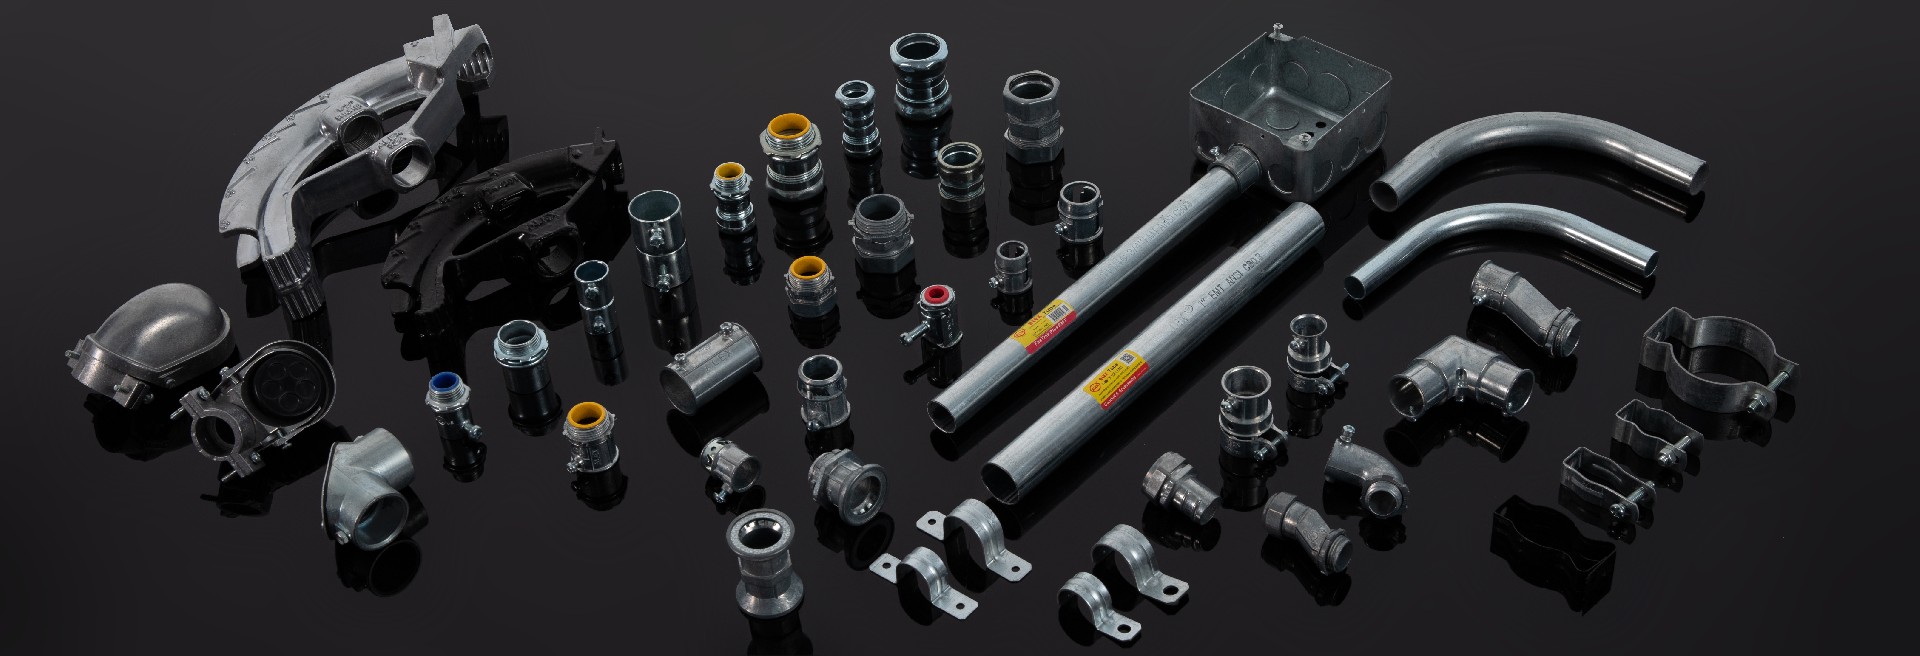
EMT conduit pipes
EMT connectors and couplings
Measuring tape
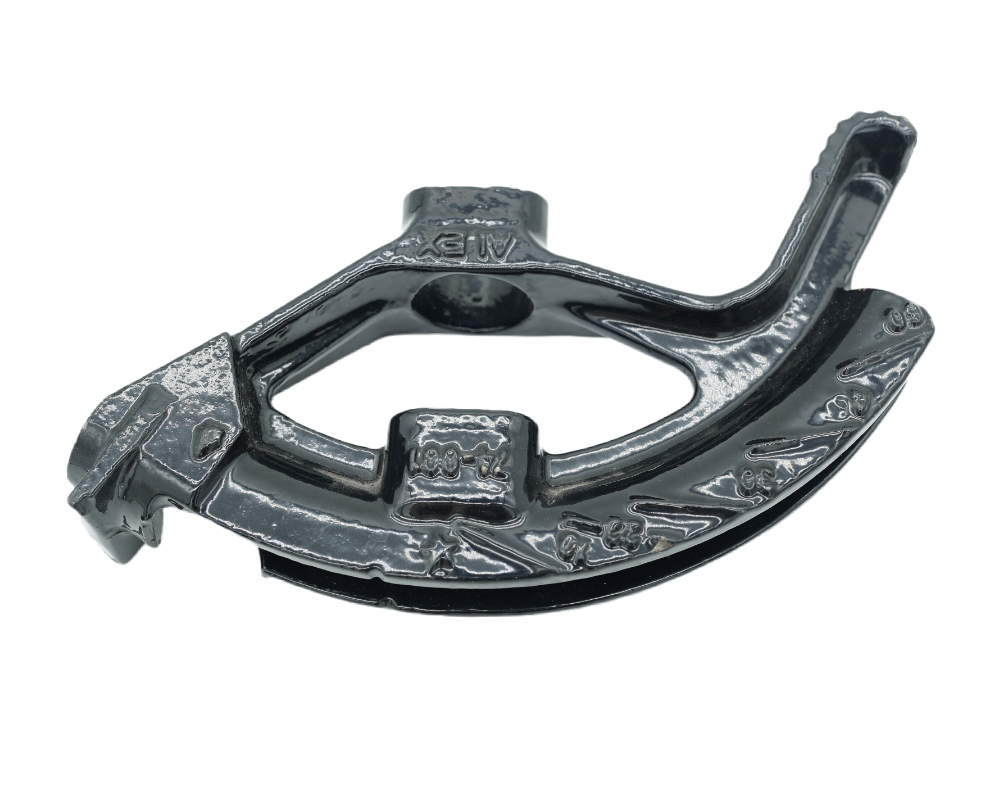
Conduit bender
Hacksaw or conduit cutter
Level
Screwdriver
Hammer
Wall anchors
Electrical box
Wire fish tape
Safety gear (gloves, eye protection)
Step 1: Plan the Conduit Path
Before beginning, assess the route you want the conduit to follow. Identify where you’ll be installing outlets or electrical boxes and mark these locations. Planning the route will help you measure the total length of EMT conduit you’ll need and ensure you have enough connectors, couplings, and fittings.
Step 2: Measure and Cut the Conduit
Once you have a plan in place, measure the length of EMT conduit needed for each section. Cut the conduit using a hacksaw or conduit cutter. After cutting, smooth the edges of the conduit with a reamer or file to avoid damaging wires when they’re pulled through.
Step 3: Bend the Conduit
EMT conduit often needs bending to navigate around corners and obstacles. A conduit bender is essential for this task and allows you to achieve precise angles.
To bend:
Insert the conduit into the bender, aligning it to the desired angle.
Apply pressure gradually, bending the conduit to the desired degree. Check the angle with a level to ensure accuracy.

Step 4: Attach the Conduit to the Wall
Securely fasten the EMT conduit to the wall or surface. Use conduit straps or brackets spaced every 3 to 4 feet along straight sections and within 1 foot of every bend to keep the conduit in place.
To fasten the conduit:
Drill holes for anchors, if attaching to concrete or brick.
Insert wall anchors and use screws to secure the conduit brackets.
Step 5: Install Couplings and Connectors
Use EMT connectors to join lengths of conduit or attach the conduit to electrical boxes. EMT connectors come in various types, such as compression or set screw, and ensure a secure, grounded connection.
To install:
Place a connector at the end of the conduit and tighten it with a screwdriver.
Connect it to the next length of conduit or the electrical box by securing the screws.

Step 6: Pull the Wires
With the conduit fully installed, use fish tape to pull wires through the conduit. This can be the most challenging part, especially for longer or complex runs, as wires can snag.
To pull wires:
Attach the wire to the fish tape.
Carefully pull the fish tape through the conduit, ensuring the wires aren’t twisted or damaged.
Step 7: Connect to Electrical Boxes
Once the wires are through the conduit, connect them to the appropriate terminals within the electrical box. Follow the wiring diagram for your specific setup and use wire nuts or terminal screws to make secure connections.
Step 8: Test Your Installation
After making all connections, test the circuit to ensure everything is functioning correctly. Use a multimeter to check continuity and verify that there are no issues.
Tips for Success
Use appropriate connectors: Always use the correct type of connectors and fittings designed for EMT conduit to ensure a secure and grounded installation.
Label your wires: Label wires before pulling them through, especially in complex installations, to avoid confusion during connections.
Follow electrical codes: Ensure your installation complies with local electrical codes to maintain safety and quality.
Installing EMT conduit is a valuable skill that can help protect your electrical wiring while providing a clean, professional appearance. With the right tools and a step-by-step approach, this project can be completed by anyone with basic DIY skills. Follow these steps, and you’ll have a safe, efficient EMT conduit installation in no time!
